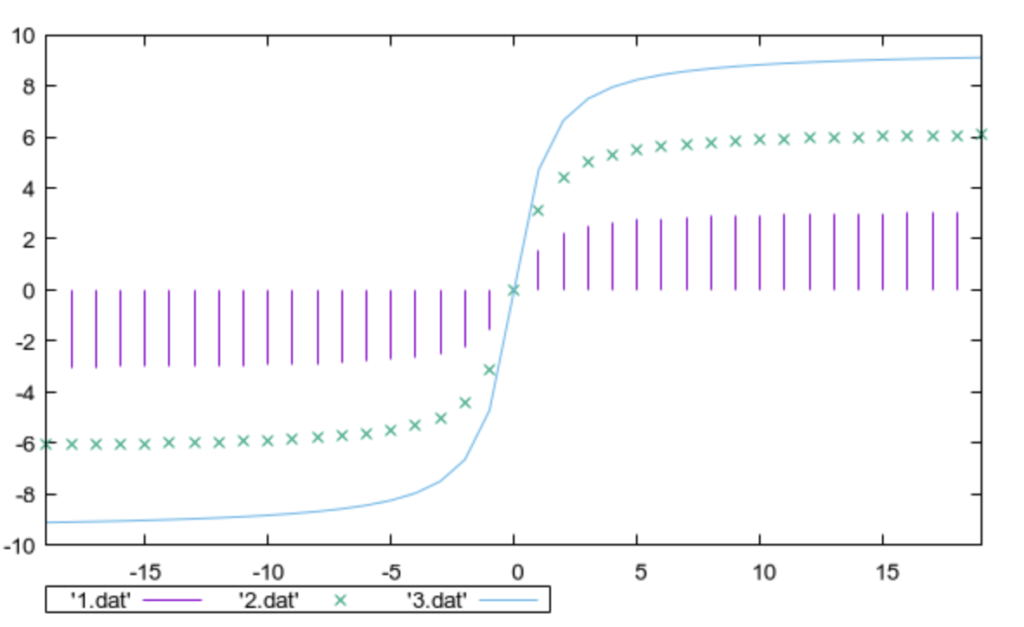
Integrating Gnuplot with Arduino involves creating a communication interface between the Arduino microcontroller and your computer running Gnuplot. Gnuplot is typically used for plotting data, and Arduino can send data over a serial connection to be plotted.

Here’s a basic example of how you might send data from an Arduino to Gnuplot:
Arduino Code:
void setup() {
  Serial.begin(9600);
}

void loop() {
  // Generate some sample data (replace this with your own sensor data)
  int sensorValue = analogRead(A0);

  // Send the data over the serial port
  Serial.print(sensorValue);
  Serial.print(",");

  // Delay for a short time (adjust as needed)
  delay(1000);
}
This example assumes you have a sensor connected to analog pin A0 on your Arduino. It reads the sensor value, sends it over the serial port, and then waits for a short time before repeating.
Gnuplot Script:
Create a Gnuplot script (e.g., plot_script.plt) on your computer:
set terminal wxt
set xlabel 'Time'
set ylabel 'Sensor Value'
plot '-' with lines
This script sets up a live plot in a Gnuplot window, expecting data in the format x,y.
Run Gnuplot:
Open a terminal and run:
gnuplot -persist plot_script.pltPython Script (Optional):
If you prefer, you can use a Python script as an intermediary between Arduino and Gnuplot. Install the pyserial library using:
pip install pyserialThen, create a Python script (e.g., serial_plot.py):
import serial
import matplotlib.pyplot as plt

ser = serial.Serial('COM3', 9600)  # Adjust the COM port accordingly

plt.ion()

x_data = []
y_data = []

try:
    while True:
        data = ser.readline().decode('utf-8').strip()
        x, y = map(int, data.split(','))
        x_data.append(x)
        y_data.append(y)

        plt.plot(x_data, y_data, marker='o', linestyle='-', color='b')
        plt.pause(0.01)

except KeyboardInterrupt:
    ser.close()
    plt.show(block=True)
This Python script reads data from the Arduino over the serial port and plots it using Matplotlib.
Remember to adapt the code to your specific sensor and hardware configuration. This is a basic example, and you might need to add error handling and adjust parameters based on your specific needs.
